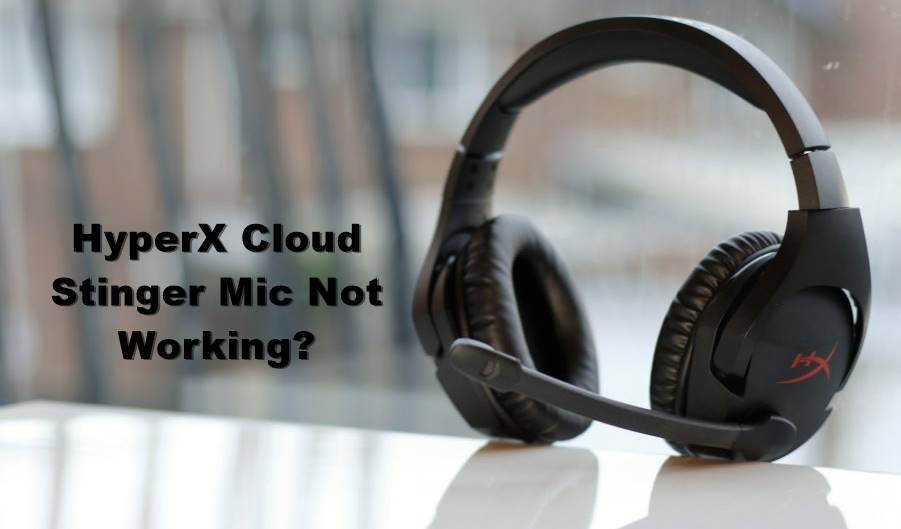
HyperX Cloud Stinger is one of the most popular gaming headphones available out there. Thanks to the affordable price and quality product, it is being used by millions of users around the globe. However, as a gamer, it might be an irritating thing for you when the HyperX Cloud Stinger’s microphone stops working. As this means, you cannot communicate with other players as you play the game. So the question is How to Fix HyperX Cloud Stinger Microphone Not Working error?
Well, in case if you too have the same question in your mind and looking for ways to fix this error. Then let me help you out:
Contents
How to Fix HyperX Cloud Stinger Microphone Not Working?
Check your connection:
First thing first, make sure that all your connections are alright. In case if you have put the microphone cable to the wrong port, it is obvious that you will get microphone issues.
Also, there are times when the microphone is not plugged properly, and it leads you to a microphone not working issue. So do have a look at your connections and make sure that everything is alright.
Enable audio devices:
In case if you have disabled audio devices, then your HyperX Cloud Stinger mic is not going to work. So consider enabling audio devices and check if everything is right or not.
To enable audio devices, you can go to audio settings on your computer and enable the mic and speakers from there. Also, make sure that you have not muted or lowered down the volume of your computer. Since often, people consider this issue as microphone failure.
Also read: How to Fix HyperX Cloud 2 Mic Not Working [Solved] 2020
Update your headset driver:
You should also consider updating your headset driver. In case if the drivers are deleted or outdated, then the microphone would not work. To update your headset driver, do follow these steps:
- At first, go to Control Panel, and from here, go to the Hardware and Sounds > Sounds.
- Then go to the PlayBack tab and right-click on your headphones and select properties.
- Next, click on the Properties button and go to Change Settings.
- Then go to the drivers tab and click on Update Driver.
- Finally, wait for Windows to find driver update and install it for you.
Set HyperX Cloud Stinger mic as the default device
There is also a high chance that your HyperX Cloud Stinger microphone is disabled. Or it is not selected as the default device on your computer. As a result, you are getting the microphone not working error. To fix this, you can follow these steps:
- At first, go to the Control Panel.
- Then go to Hardware and Sounds > Sounds.
- Click on Sound.
-
Go to the Recording tab and right-click on any empty place and select Show Disabled Devices.
-
Then right-click on the headset Microphone and select Enable. After that right-click on it again and select Set as Default Device.
Check Your Microphone Port:
There is also a possibility that the microphone port on your computer is damaged. As a result, it is not taking any audio inputs. To make sure that your computer’s microphone is alright, try using any other headphone and see if you are facing the same issue or not. If yes, then you should use external audio ports, and you will be good to go.
Final Words:
So that was the answer to your How to Fix HyperX Cloud Stinger Microphone Not Working. In case after trying all the above methods, you still don’t get any solution, then do consider checking your headphone with some other device. If it still does not work, then it is time for you to get another pair of gaming headset.

")


