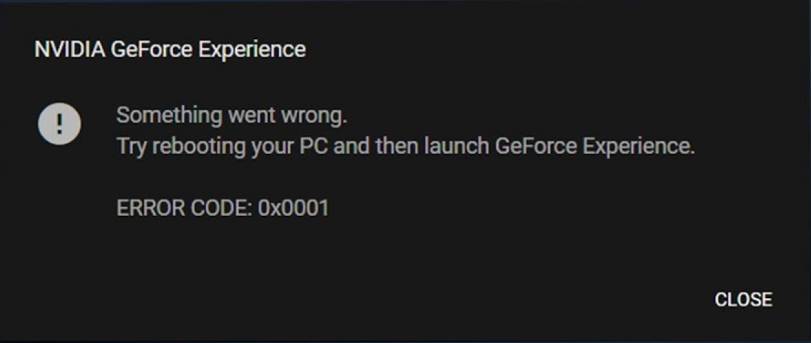
Some people face this issue of error code 0x0001 on their operating system when they are trying to open the NVidia Experience application. So today, we will help you to fix this error.
Nvidia GeForce Experience is an application to GeForce GTX graphics. This application will help you to optimize all of your games and update your drivers. The application provides you the easiest way to share the best moments with your friends. This application is unnecessary, but if you install this application, you will enjoy the best PC gaming experience.
Contents
How to Fix NVidia GeForce error code 0x0001 ?
Some people are facing the issue while launching the application and showing the error code 0x0001. There was no difference in relaunching the app. If you are also facing this issue, then we will tell you some troubleshooting steps to fix this error. Here are the methods –
1. Install the GeForce Experience Beta
This is one of the best methods to fix the error. We have heard from many users that they have uninstalled the current GeForce Experience application and install the Beta version of that, then they have not to face that issue. So we will recommend you to apply this method. For that, you have to follow these steps carefully.
- First of all, you have to press the Windows key with R to open the run dialog box. Now enter the keyword “appwiz.cpl” in the box and then tap press enter. It will open the features and program window.
- Now, scroll down below and search for “NVidia GeForce Experience” and then right-click on it and tap on the ‘uninstall’ button to begin the uninstallation process.
- After the uninstallation completion, restart your computer to proceed further.
- Now click on the link https://www.nvidia.com/en-us/geforce/geforce-experience/beta/ and download the latest version of GeForce Experience Beta application.
- Now start installing the application and wait until it finishes. Make sure not to open the application without restarting your computer.
- After starting the computer, open the application, and enjoy the service. But if you are facing the issue, then download the old Beta version by repeating the whole process.
- Make sure that your file is installed on the OS drive of the computer.
So this is the method to fix the error, but if your issue is not solved with this method, go for another way. Here is the process.
2. Allow NVidia Experience service to interact with a local account
There are many reasons for the error, but sometimes the issue can be solved by modifying NVidia services’ settings. Here is the complete guide, just follow the steps-
- First of all, you have to press Windows Key with R to open the run dialogue box and enter the keyword “services.msc” and press the enter button.
- The service screen page will open, now you have to find the container services used by NVidia.
- Now, right-click on any of the services and choose the ‘properties’ option inside them.
- Now, you have to check whether the box allows services to interact with the desktop is checked or not. Then tap on the ‘apply’ button to save the changes.
- You have to repeat this thing with all other container services and keep in mind to tap on the ‘Start’ button if any service is not started.
- After configuring all the NVidia container services, now restart your computer. That’s all.
It will help you solve your issues, but still, if your problem is not resolved, then we have the last method. Here is the process.
3. NVidia Folder should own by the system
The issue can also arise because of NVidia folder have no permissions. This issue can be solved by modifying the ownership of the folder to the system.
- First of all, open the File Explorer and go to the C drive and open Program Files(x86).
- Then right-click on NVidia corporation and click on the ‘properties’ option from the drop-down menu.
- Now click go to the ‘securities’ option and choose the Advanced option.
- Now, you have to check whether the Owner is set as a system or not. If it is not set, then click n Change.
- Then you have to select the object name, type system, check names, and click on OK.
- Now click on apply.
- Now again, in the C drive, open the program files.
- Repeat all the steps which we have done before and then start the NVidia Experience application.
Conclusion
So these are the methods you can use to fix the NVidia GeForce Experience error code 0x0001. These are the best methods to solve your problem. But still, if you are facing the issues, then you can comment below.


")